
What to Expect When You Hire Enos Executive Painting
Hiring a painting company should never feel like a gamble. You deserve to know exactly what will happen, when it will happen, and how your home or business will be treated throughout the entire project. At Enos Executive Painting, we’ve refined our process over more than 25 years of painting homes and commercial properties throughout the Tampa Bay area.
Every step is designed to deliver a finished result that exceeds your expectations while keeping you informed, comfortable, and confident from the first phone call to the final walkthrough.
Below is a detailed look at our proven six-step painting process. Whether you’re planning an interior refresh for a single room, a full exterior repaint, or a commercial painting project, this is the roadmap we follow to ensure consistent, professional results on every job.

OUR PROCESS
How We Deliver Outstanding Results
Free Consultation
Call or fill out our form for a free, no-obligation consultation. We discuss your vision and project scope.
Detailed Estimate
We provide a transparent, itemized estimate with no hidden fees or surprise charges. Everything in writing.
Surface Preparation
Thorough prep work including cleaning, sanding, priming, and protecting surfaces not being painted.
Expert Application
Skilled painters apply premium coatings with precision. Multiple coats for lasting, beautiful coverage.
Quality Inspection
Every project undergoes a thorough quality inspection before we consider the job complete.
Final Walkthrough
We walk through the completed project with you to ensure your complete satisfaction.
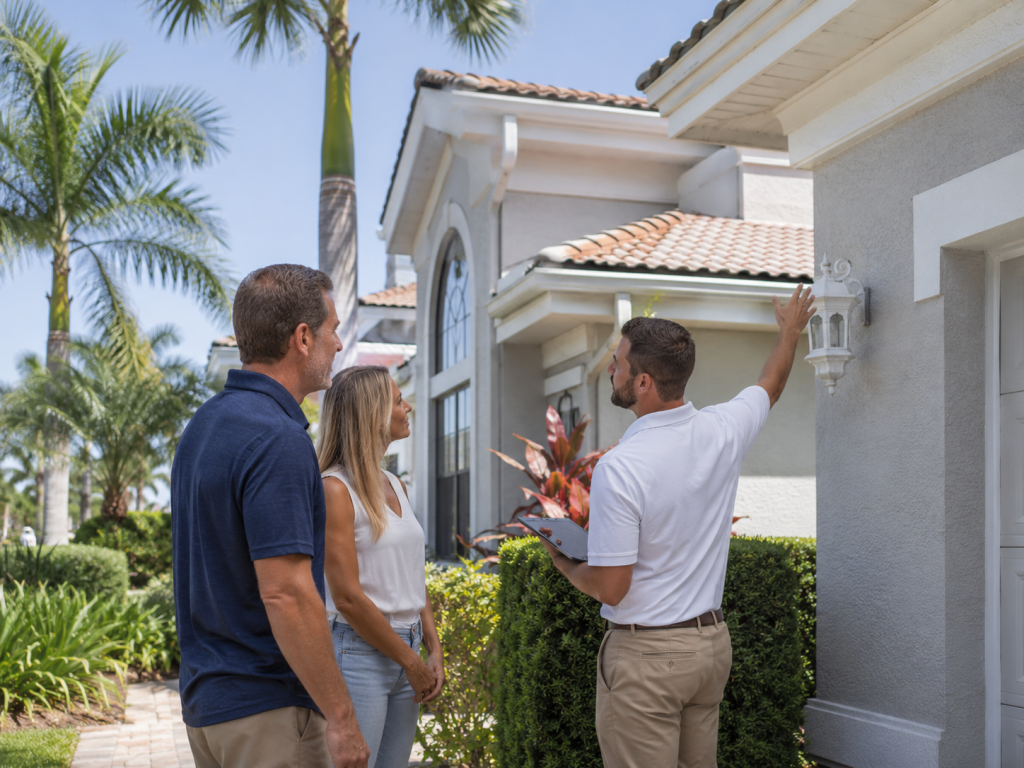
Step 1: Your Free Estimate and Consultation
Every Enos Executive Painting project begins with a complimentary on-site estimate. When you contact us by phone at (813) 907-5444 or through our online request form, we’ll schedule a convenient time to visit your property and discuss your painting goals in person.
During the consultation, we walk the interior or exterior of your property together. We examine the condition of existing surfaces, identify areas that need repair or special attention, discuss your color preferences and finish options, and answer any questions you have about the process, timeline, or materials. If you’re unsure about colors, we can offer guidance based on current trends, your home’s architectural style, neighborhood character, and even HOA requirements if applicable.
We take detailed measurements and notes during this visit so that our estimate reflects the actual scope of your project — not a rough guess based on square footage alone. Within one to two business days, you’ll receive a detailed written proposal that includes a clear breakdown of work to be performed, the specific products and brands we’ll use, the number of coats to be applied, preparation details, the project timeline, and your total investment. There are no hidden fees, no surprise upcharges, and no pressure to commit on the spot.
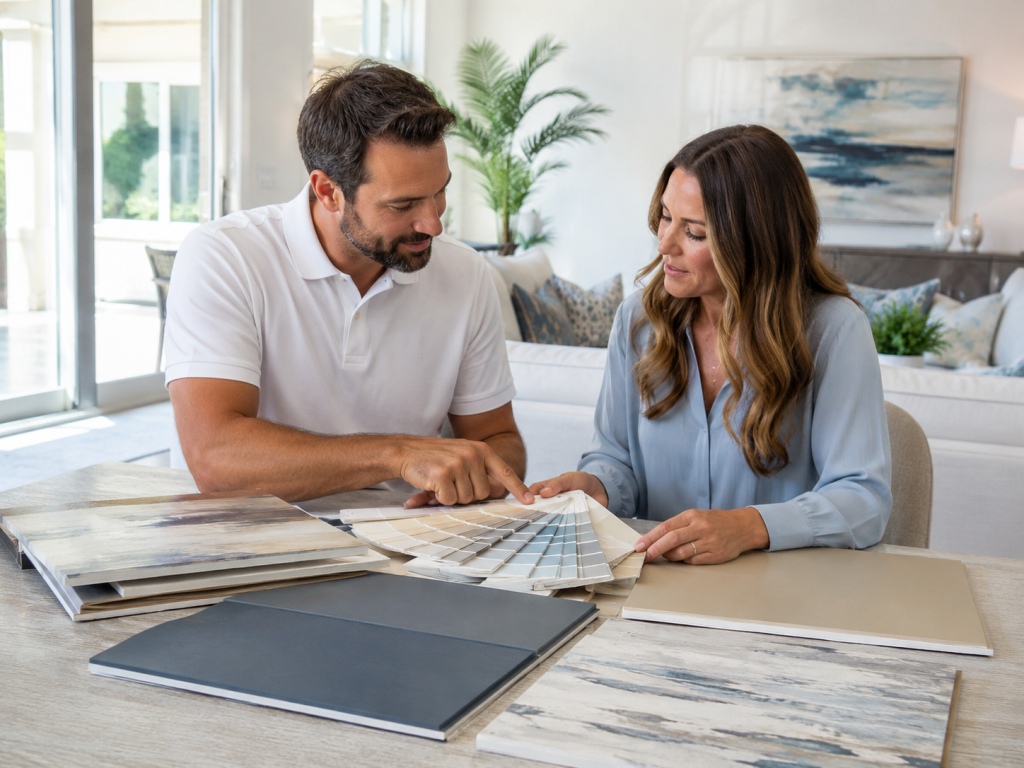
Step 2: Color Selection and Final Planning
Once you’ve approved your estimate and we’ve scheduled your project, we move into the color selection and planning phase. For many homeowners, choosing the right paint color is the most exciting — and sometimes the most stressful — part of the process. We’re here to make it enjoyable.
If you’ve already selected your colors, we’ll confirm the specific paint codes and finishes to ensure accuracy. If you’d like guidance, we offer color consultation services to help you narrow down your options. We can coordinate with Sherwin-Williams and Benjamin Moore’s color matching tools, provide large color samples for you to evaluate in your home’s actual lighting conditions, and advise on which sheens and finishes perform best in different areas of your home. For example, semi-gloss and satin finishes are ideal for kitchens, bathrooms, and trim work in Tampa’s humid climate because they resist moisture and clean easily, while flat and matte finishes create a sophisticated, modern look on walls and ceilings in living spaces and bedrooms.
For exterior projects, we also consider how colors will interact with your roof, landscaping, and neighboring homes. Tampa’s intense sunlight can make colors appear lighter and more washed out than they look on a paint chip, and we factor that into our recommendations so you’re happy with the final result in real-world conditions.
If your home is in an HOA community, we can help you navigate the color approval process. We’re familiar with the procedures used by many Tampa Bay HOAs and can help you prepare your submission with the correct color swatches, forms, and documentation.
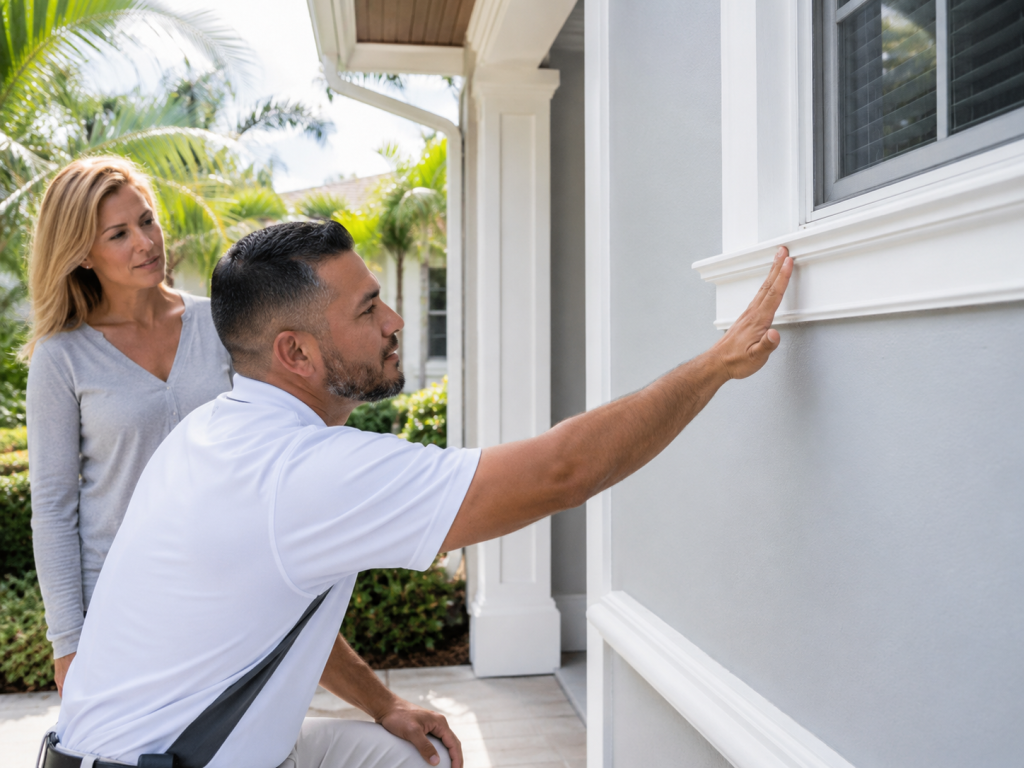
Step 3: Surface Preparation
This is the step that separates professional painting from amateur work, and it’s where Enos Executive Painting invests the time and effort that most cut-rate painters skip. In Tampa’s subtropical environment, proper surface preparation is not optional — it is the single most important factor in determining how long your paint job will last and how good it will look.
Exterior Preparation
For exterior projects, preparation begins with a comprehensive pressure wash of all surfaces to be painted. Tampa’s humidity and warm temperatures create ideal conditions for mildew, algae, dirt, and oxidation to accumulate on exterior walls, soffits, fascia, and trim. Painting over these contaminants without proper cleaning leads to adhesion failure, peeling, and premature coating breakdown. Our pressure washing process removes these layers down to a clean, stable substrate ready to accept new paint.
After pressure washing and allowing surfaces to dry thoroughly, we move to surface repair. This includes scraping and sanding any areas with peeling, flaking, or chalking paint; filling cracks in stucco with appropriate patching compounds; caulking gaps around windows, doors, and trim joints to prevent moisture intrusion; replacing or repairing any rotted wood on fascia, soffits, or trim boards; and spot-priming bare surfaces, patched areas, and any stains that could bleed through the topcoat. We also protect all areas not being painted — windows, doors, light fixtures, landscaping, walkways, pool decks, and outdoor furniture — with plastic sheeting, masking tape, and drop cloths.
Interior Preparation
Interior preparation follows a similarly thorough approach. We begin by moving or covering furniture with clean drop cloths, and we lay protective coverings over all flooring surfaces. We then fill nail holes, dings, and small drywall imperfections with spackling compound, sand those patches smooth once dry, and apply painter’s tape to edges, trim, and any surfaces adjacent to the areas being painted. If there is any existing peeling or damaged paint, we scrape and sand those areas before priming. Outlet covers, switch plates, and light fixture plates are removed prior to painting and reinstalled after the final coat has dried.
Our preparation process typically accounts for 30 to 50 percent of the total project time on any given job. That might seem like a lot, but it’s the investment that ensures your paint job looks flawless and performs beautifully for years to come.
Step 4: Priming and Painting
With surfaces cleaned, repaired, and properly prepared, the actual painting begins. Depending on the project scope and surface conditions, we may apply a full coat of primer before the topcoat. Primer is essential on bare surfaces, over stains, when changing from a dark to a light color, and on surfaces that have been heavily patched or repaired. In Tampa’s climate, using the right primer is especially important for exterior work because it creates a moisture-resistant bond between the substrate and the topcoat.
We apply paint using the method best suited to each surface and situation: brushes for detailed trim and edge work, rollers for large wall and ceiling areas, and professional spray equipment for exterior surfaces, fences, cabinets, and areas where a smooth, even finish is critical. All coats are applied at the proper thickness (referred to as the “mil thickness” in the industry) and allowed to dry for the manufacturer’s recommended recoat time before the next coat is applied.
Most projects receive two full coats of topcoat paint over properly primed surfaces. In some cases — such as extreme color changes or heavily textured surfaces — a third coat may be necessary, and we’ll discuss that with you upfront so there are no surprises. We use only the premium products specified in your estimate, and we never thin paint or substitute cheaper alternatives.

Step 5: Quality Inspection and Touch-Ups
Before we call the project complete, our team conducts a thorough quality inspection of all painted surfaces. We examine every wall, ceiling, trim piece, door, and exterior surface under natural and artificial lighting conditions to identify any areas that need touch-up or additional attention.
We check for consistent coverage with no thin spots, holidays, or missed areas; clean, sharp lines along edges, trim, and ceiling transitions; smooth, even finish without drips, runs, sags, or brush marks; proper coating of all corners, edges, and hard-to-reach areas; and clean removal of all masking tape without paint bleed or edge damage. Any deficiencies we identify during this inspection are corrected before we move to the final walkthrough. Our goal is to address every detail proactively so that when you see the finished project, it meets the standard you expected.
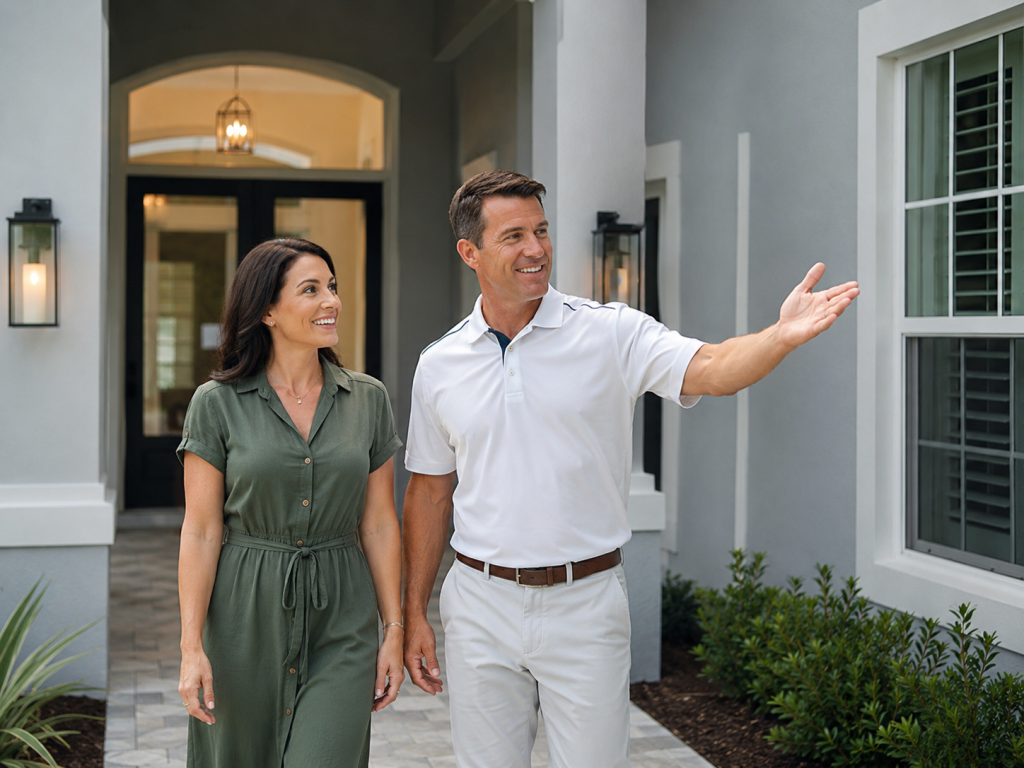
Step 6: Final Walkthrough and Project Completion
The final step in our process is a walkthrough with you. We walk through every room or around the entire exterior together, giving you the opportunity to examine the finished work in detail and point out anything you’d like us to address. If there’s a spot that needs one more touch, a line that isn’t perfectly crisp, or any detail that doesn’t meet your expectations, we take care of it on the spot.
Once you’re completely satisfied with the finished product, we move to the final cleanup. All protective coverings, drop cloths, masking tape, and plastic sheeting are removed. Your furniture is returned to its original position. We clean up any paint debris, dispose of all waste materials, and leave your home or business in the same clean condition we found it — just with beautiful, fresh paint.
We’ll leave you with touch-up paint for each color used on your project so that you can address any minor scuffs or marks that may occur during normal daily life. We’ll also provide care instructions to help you maintain the longevity of your new paint, including advice on cleaning techniques appropriate for the specific finishes used in your home.
Why Our Process Matters
We understand that you’re not just buying paint on a wall — you’re investing in the appearance, value, and protection of your home or commercial property. Our process exists to protect that investment by ensuring that every phase of your project is executed with professionalism, quality materials, and attention to detail.
Tampa’s demanding climate means that shortcuts show up faster here than almost anywhere else. A paint job that skips surface prep will begin failing within a year or two. Cheap paint applied over mildew-contaminated stucco will peel. Corners cut on caulking lead to moisture damage behind walls. Our six-step process is specifically designed to prevent these failures and deliver results that last.
Ready to see the process in action?
Contact Enos Executive Painting today at (813) 907-5444 or request your free estimate online. We serve homeowners and businesses throughout Tampa, Wesley Chapel, Brandon, Land O’ Lakes, Riverview, Lutz, and all surrounding communities in Hillsborough and Pasco counties.